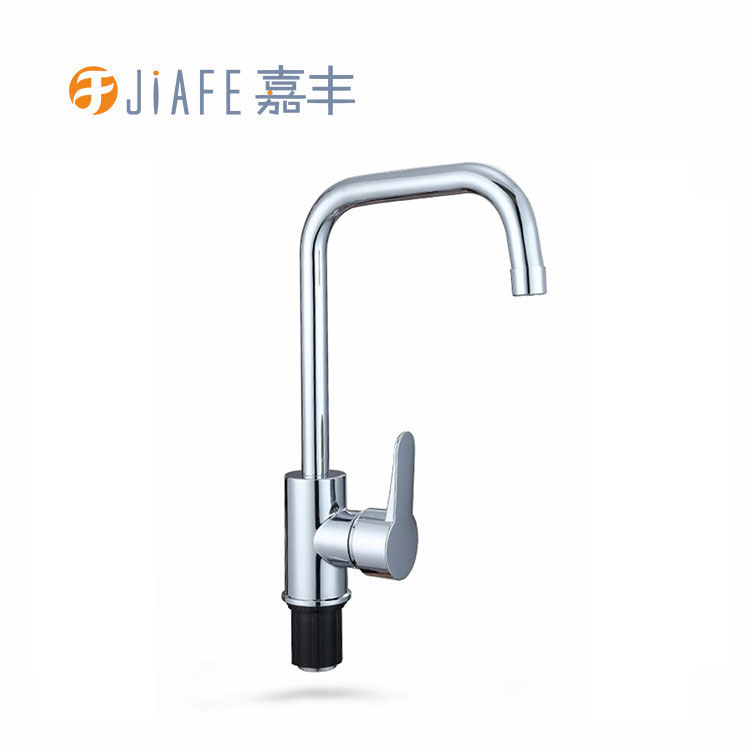
How To Install A New Shower Faucet
2024-01-12
How To Install A New Shower Faucet
Installing a new shower faucet can be a relatively straightforward process if you have some plumbing knowledge and the right tools. Here's a general guide on how to install a new shower faucet:
Materials and Tools:
- New shower faucet
- Plumber's tape (Teflon tape)
- Adjustable wrench
- Pipe cutter or tubing cutter
- Pipe thread sealant or plumber's putty (if required)
- Plunger or rags (to block the drain and prevent small parts from falling in)

Steps:
1. Turn Off the Water:
- Before you begin, turn off the water supply to the shower. This may involve shutting off the water to the entire house or using a local shutoff valve.
2. Remove the Old Faucet:
- Take off the old shower faucet. This typically involves removing the handle(s) and trim to access the valve. Use an adjustable wrench to loosen and remove the nuts holding the faucet in place.
3. Inspect and Clean:
- Inspect the existing pipes and connections. Clean the area around the valve to remove any debris or old sealant.
4. Measure and Cut the Pipes:
- Measure the distance between the hot and cold water supply pipes. Use a pipe cutter or tubing cutter to cut the pipes to the appropriate length if necessary.
5. Apply Plumber's Tape:
- Wrap the threads of the new shower faucet with plumber's tape. This helps create a watertight seal when the connections are made.
6. Install the New Faucet:
- Slide the new faucet over the pipes and secure it in place. Tighten the nuts using an adjustable wrench. Be careful not to overtighten, as it may damage the faucet or the pipes.
7. Connect the Water Supply:
- Connect the hot and cold water supply lines to the corresponding inlets on the new faucet. Use an adjustable wrench to tighten the connections. If the new faucet uses compression fittings, make sure the nuts are snug.
8. Check for Leaks:
- Turn the water supply back on and check for leaks. If you notice any leaks, tighten the connections or add additional plumber's tape as needed.
9. Install Trim and Handle:
- Attach the trim and handle according to the manufacturer's instructions. This may involve securing the trim plate, handle, and any other decorative elements.
10. Test the Faucet:
- Turn on the shower to check the water flow and temperature. Make sure both hot and cold water are working correctly and that there are no leaks.
11. Seal and Finish:
- If required, use pipe thread sealant or plumber's putty to seal any gaps around the faucet trim. This helps prevent water from seeping into the wall.
12. Clean Up:
- Clean up the work area, and dispose of any old materials or packaging.
Remember that the specific steps may vary based on the type and brand of the shower faucet you're installing. Always refer to the manufacturer's instructions for your particular faucet model. If you're not comfortable with plumbing tasks, consider hiring a professional plumber to ensure the installation is done correctly and safely.


